- By the dedicated team of editors and writers at Newsletter Station.
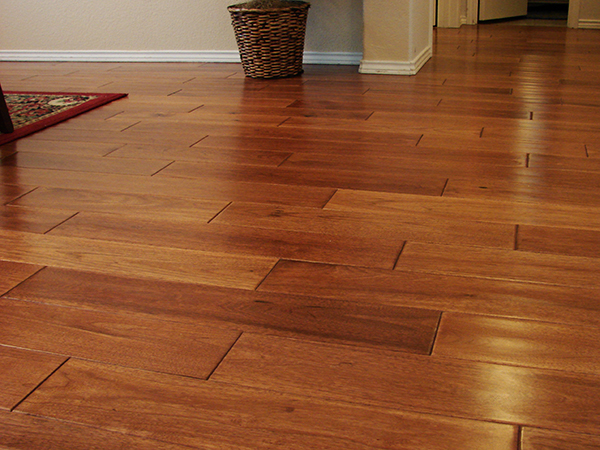
Wooden floors exude timeless elegance and warmth, adding a touch of natural beauty to any space. However, like any other material, wood is susceptible to wear and tear over time. The need to patch your wood floor may arise, whether it's due to scratches, dents, or other forms of damage.
But don't fret! With some know-how and patience, you can restore your wood floor's charm and prolong its lifespan. In this guide, we'll walk you through the steps of patching a wood floor, helping you bring back its original luster.
Materials You'll Need
Replacement Wood: Acquire replacement wood that matches your existing floor's species, grain pattern, and finish. This can be purchased at hardware stores or sourced from inconspicuous areas of your home, like closets.
Safety Gear: Wear safety goggles, a dust mask, and gloves to protect yourself during the repair process.
Tools: Gather a hammer, chisel, circular saw, pry bar, wood glue, filler, sandpaper, a putty knife, and a paintbrush.
Finish Supplies: If necessary, have on hand the same type of finish that's on your floor, such as polyurethane or wax.
Step-by-Step Guide
Prepare the Area
Start by clearing the damaged area of any furniture or rugs. This will give you ample space to work. Clean the area thoroughly to remove dust, debris, and dirt.
Remove the Damaged Wood
Carefully cut around the damaged section using a circular saw, creating a rectangular outline. Be sure to follow the wood's grain to ensure a seamless patch. Then, gently lift and remove the damaged wood pieces using a chisel and a pry bar.
Cut Replacement Wood
Using the removed pieces as a template, carefully cut the replacement wood to the exact size and shape needed. This will help maintain the continuity of the floor's appearance.
Test Fit and Trim
Before applying the adhesive, test-fit the replacement wood to ensure it fits perfectly into the cutout area. If necessary, trim the edges for a precise fit.
Apply Wood Glue
Using a paintbrush, apply wood glue to the edges of the cutout area. Also, glue should be applied to the edges of the replacement wood. This will ensure a strong bond between the existing floor and the new wood.
Insert Replacement Wood
Gently insert the replacement wood into the cutout area, pressing it firmly down. Wipe off any excess glue immediately with a damp cloth.
Secure the Wood
Place heavy books or weights on top to hold the replacement wood securely in place while the glue dries. Allow the glue to dry according to the manufacturer's instructions.
Sand and Finish
Once the glue is dry, use sandpaper to sand down any uneven edges and smooth the surface carefully. After sanding, apply a matching finish to the patched area. This may involve applying a layer of polyurethane, wax, or another appropriate finish.
Blend the Finish
Heather the finish from the patched area into the surrounding floor to ensure a seamless look. This will help the newly patched section blend with the rest of the floor.
Final Touches
After the finish has dried, give the patched area a final inspection. Repeat the sanding and finishing process to achieve a flawless result.
Patching a wood floor might seem daunting, but with the suitable materials, tools, and patience, you can bring your wooden floor back to life. Remember that attention to detail and taking your time will result in a seamlessly repaired floor that maintains its natural beauty for years.
So, roll up your sleeves, follow this step-by-step guide, and enjoy knowing you've successfully rejuvenated your wood floor.