How to Clean and Restore Your Car’s Headlights for Safety and Shine
- By the dedicated team of editors and writers at Newsletter Station.
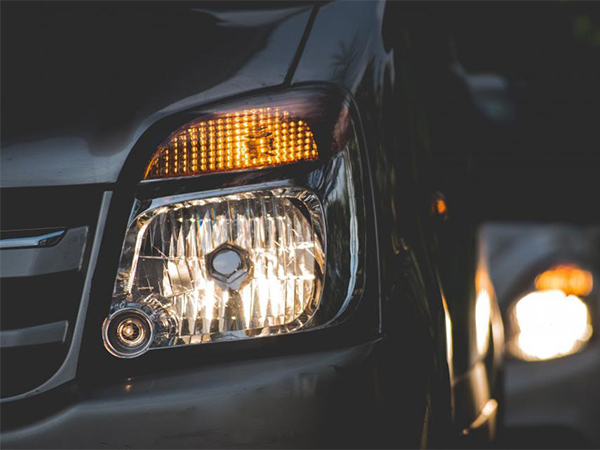
Your car’s headlights are essential for safe driving and the overall appearance of your vehicle. Over time, exposure to sunlight, road debris, and harsh weather can cause headlights to become cloudy, hazy, or yellowed. This not only diminishes visibility at night but also affects your car’s aesthetic appeal.
Fortunately, restoring your headlights doesn’t have to be expensive. With the right materials and techniques, you can bring back clarity and functionality. Here’s a comprehensive guide to cleaning and maintaining your car’s headlights.
Materials You’ll Need
Before starting, gather these items:
Headlight cleaning kit or individual supplies:
Sandpaper (grits: 400, 800, 1000, 2000, 3000)
Plastic or acrylic polish
Microfiber towels
Masking tape
Spray bottle with clean water
Optional: Toothpaste (for a budget-friendly alternative)
Safety gloves and goggles
Step-by-Step Headlight Cleaning Guide
Prepare Your Work Area
Park your car in a shaded area to prevent the cleaning solution from drying too quickly. Wear safety gloves and goggles for protection during sanding and polishing.
Mask Surrounding Areas
Use masking tape to cover paint and trim around the headlights. This prevents accidental scratches or damage while sanding and polishing.
Wash the Headlights
Clean the headlights with soap and water to remove dirt and debris. Rinse thoroughly and dry completely before sanding.
Sand the Headlights
Start with the lowest grit sandpaper (400). Wet the surface and sand in horizontal and vertical motions.
Gradually move to higher grits (800, 1000, 2000, 3000) to smooth the headlight surface.
Keep the headlight wet throughout to prevent scratches and heat damage.
Polish for Clarity
Apply plastic or acrylic polish using a microfiber cloth in circular motions. Buff the headlight until it is clear and shiny. Follow manufacturer instructions for best results.
Rinse and Dry
Rinse thoroughly with clean water to remove polish residue. Dry with a fresh microfiber towel, checking for streaks or haziness.
Optional Toothpaste Method
If you don’t have a dedicated kit, toothpaste can act as a mild abrasive polish. Apply a small amount on a damp cloth, rub in circular motions, rinse, and dry. This works well for minor oxidation.
Final Touches
Remove masking tape and inspect the headlights. Repeat polishing if necessary. For long-term protection, consider applying a UV-resistant sealant or protective coating to prevent future yellowing.
Tips for Long-Lasting Headlight Clarity
Regular Cleaning: Wash headlights during routine car washes to prevent buildup.
Protective Coating: Apply a UV-protective sealant every 6–12 months to slow oxidation.
Avoid Harsh Chemicals: Use gentle, car-safe cleaners to prevent plastic damage.
Park Smart: Whenever possible, park in shaded or covered areas to minimize UV exposure.
Cleaning your headlights is a simple, cost-effective way to improve nighttime safety and keep your vehicle looking polished. With regular maintenance, proper cleaning, and UV protection, your headlights can remain crystal clear, functional, and visually appealing for years to come.