How to Wax Your Car for a Long-Lasting Shine and Paint Protection
- By the dedicated team of editors and writers at Newsletter Station.
There’s nothing quite like the deep shine of a freshly waxed car. Beyond the glossy appearance, waxing your vehicle is an important part of regular car care. A quality wax layer helps protect your paint from UV rays, road grime, bird droppings, and environmental contaminants while making the surface easier to clean.
Although waxing may seem simple, using the right technique and products can dramatically improve the results. With proper preparation and application, you can achieve a smooth, professional-looking finish that keeps your car looking newer for longer.
Below is a step-by-step guide to waxing your car the right way.
Why Waxing Your Car Matters
Modern car waxes do more than add shine. They create a protective barrier between your paint and the outside environment. This barrier helps:
Protect paint from sun damage and oxidation
Reduce the buildup of dirt, pollen, and road salt
Improve water beading and make washing easier
Enhance color depth and overall appearance
Most experts recommend waxing your vehicle every 3 to 4 months, though newer synthetic waxes and paint sealants can last even longer, depending on driving conditions.
Gather Your Car Waxing Supplies
Before you begin, gather the tools and products needed to achieve the best results.
Essential supplies include:
Car Wax
Choose a high-quality wax suited to your needs. Options include paste wax, liquid wax, spray wax, and modern synthetic sealants. Each offers varying levels of durability and ease of application.
Microfiber Towels
Soft, lint-free microfiber towels are ideal for applying and buffing wax without scratching the paint.
Applicator Pads
Foam or microfiber applicator pads help spread wax evenly across the surface.
Car Wash Soap
A gentle automotive wash soap removes dirt and debris without damaging the paint or stripping existing protection.
Clay Bar (Optional)
A clay bar removes embedded contaminants such as road tar, brake dust, and industrial fallout that regular washing cannot remove.
Car Polish (Optional)
If your vehicle has light scratches, swirl marks, or dull paint, a polish can restore clarity before waxing.
Detail Spray or Water Sprayer
A light mist can help lubricate the surface during certain steps and improve final buffing.
Wash and Prepare the Surface
Proper preparation is one of the most important steps for achieving a smooth, glossy finish.
Start With a Thorough Wash
Wash your car carefully using automotive soap and a soft wash mitt. Rinse thoroughly to remove all dirt, dust, and road grime. Waxing over contaminants can trap them against the paint and cause scratches.
Use a Clay Bar if Needed
If the paint feels rough to the touch after washing, consider using a clay bar. This step removes stubborn contaminants and leaves the paint extremely smooth—an ideal surface for wax.
Dry the Vehicle Completely
Use clean microfiber drying towels to thoroughly dry the car. Wax should always be applied to a clean, dry surface for the best bonding and shine.
How to Apply Car Wax Properly
Once the car is clean and dry, you’re ready to apply the wax.
Choose the Right Environment
Work in a shaded area or inside a garage if possible. Direct sunlight or hot paint can cause wax to dry out too quickly, making removal difficult.
Shake or Prepare the Wax
If using liquid or spray wax, shake the bottle well before use. For paste wax, lightly load the applicator pad with a small amount.
Apply a Thin, Even Layer
Apply wax in small sections, such as a door or half a hood at a time. Use gentle circular or cross-hatch motions to spread a thin, even layer. Remember—a little wax goes a long way.
Allow the Wax to Haze
Most waxes require a few minutes to dry and form a light haze on the surface. Check the product instructions, as curing times can vary by product.
Buff the Wax for a Brilliant Shine
Once the wax has hazed, it’s time to remove and polish the surface.
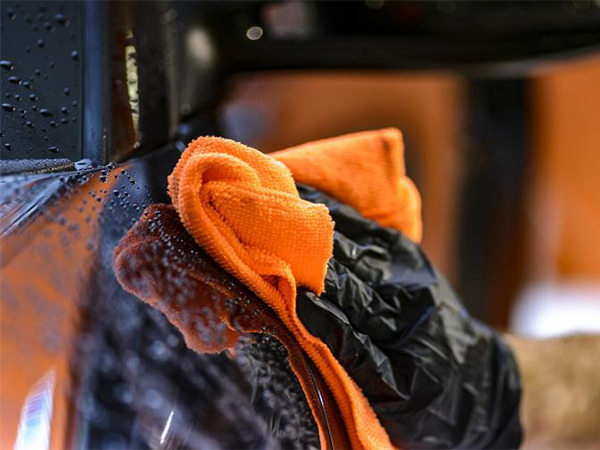
Use a Clean Microfiber Towel
Buff the wax gently using a clean microfiber towel. Use light, overlapping strokes to remove the residue and reveal the shine underneath.
Inspect the Surface
Look closely to ensure no wax residue remains, especially around trim, panel edges, and emblems. If needed, use a second microfiber towel for a final buff.
Repeat Around the Vehicle
Continue the same process, panel by panel, until the entire vehicle is protected and polished.
How Often Should You Wax Your Car?
For most vehicles, waxing every three to four months keeps the paint protected and looking its best. However, factors such as weather exposure, road salt, frequent washing, and parking outdoors may require more frequent applications.
Many modern waxes and synthetic sealants can last four to six months, making them a popular option for drivers seeking longer-lasting protection.
Keep Your Car Looking Its Best
Waxing your car is one of the simplest ways to preserve your vehicle’s appearance and protect its paint. With the right tools, a clean surface, and proper application, you can achieve a professional-level shine right at home.
By making waxing part of your regular vehicle maintenance routine, you’ll keep your car looking glossy, protected, and ready for the road—no showroom required.