How to Open a Paint Can Properly: A Simple Guide for a Clean, Professional Finish
- By the dedicated team of editors and writers at Newsletter Station.
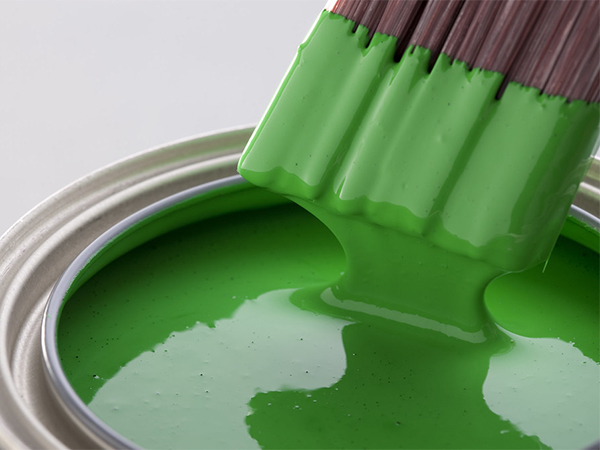
Opening a paint can might seem like the easiest step in a painting project—but doing it the right way can prevent spills, preserve your paint, and set the stage for a smooth, professional-looking finish.
Whether you’re an experienced DIYer or painting your first room, understanding the proper technique makes all the difference. This guide walks you through safe, efficient steps for opening, handling, and resealing paint cans like a pro.
Tools and Materials You’ll Need
Before you start, gather the following essentials to ensure a mess-free and efficient process:
Paint Can – The star of the project.
Paint Can Opener or Flathead Screwdriver – A paint can opener is ideal, but a sturdy flathead screwdriver works in a pinch.
Cloth or Rag – For wiping the rim and catching drips.
Rubber Mallet (Optional) – Gentle but effective for resealing the lid.
Safety Gear – Gloves and safety glasses protect you from splatters and sharp edges.
Drop Cloth or Plastic Sheet – To protect floors and surfaces from accidental spills.
Step 1: Prepare Your Workspace
A little preparation goes a long way. Lay down a drop cloth or plastic sheeting to catch spills, and make sure your workspace is well-ventilated. Keep open flames, candles, or stoves away from paint fumes, and wear old clothes or an apron to avoid stains.
Having everything in place before you begin helps you work more confidently and safely.
Step 2: Inspect the Paint Can
Before prying it open, check the can for dents, rust, or leaks. A damaged can may not seal properly, allowing air inside and potentially drying out the paint. If it’s compromised, consider transferring the paint to a clean, airtight container to preserve its quality.
This quick inspection ensures you’re starting with a safe, usable product.
Step 3: Stir the Paint Thoroughly
Even freshly purchased paint can separate during transport or storage. Before opening the lid completely, stir the paint to distribute the pigments evenly. Use a wooden stir stick or a paint mixer attached to a drill.
Proper mixing ensures consistent color and texture throughout your project—an essential step toward a professional finish.
Step 4: Loosen the Lid Carefully
Position your screwdriver or paint can opener under the lip of the lid. Gently twist or tap the handle with your palm or a rubber mallet to lift the edge slightly. Move around the lid in small increments to gradually loosen it.
Avoid prying up a section too forcefully, as this can bend the lid or distort the rim, making resealing later difficult.
Step 5: Clean the Rim
Once the lid begins to lift, take a clean rag and wipe the rim of the can. Removing dried paint or debris prevents contamination and ensures a tight seal when you close it again.
This simple habit also helps extend the lifespan of your paint—fresh paint seals better and lasts longer when stored properly.
Step 6: Fully Open and Use the Paint
After loosening all sides, gently lift the lid off completely. Use caution to avoid splattering. Place the lid upside down on a piece of cardboard or plastic while you work to prevent dust or dirt from sticking to it.
When pouring paint, use a pour spout or paint can lid liner for better control and fewer drips. Keeping your workspace neat saves cleanup time later.
Step 7: Seal the Can Properly After Use
When you’re done painting, resealing the can correctly keeps leftover paint fresh for touch-ups or future projects.
Wipe the rim again to remove paint residue.
Place a small piece of plastic wrap or wax paper over the opening to create an airtight barrier.
Gently tap the lid back into place using a rubber mallet (avoid metal hammers—they can dent the lid and compromise the seal).
Store the can in a cool, dry location, away from direct sunlight and extreme temperatures, to maintain paint quality.
Pro Tip: Label and Date Your Paint
Before storing, label the can with the paint color, brand, and date opened. This makes it easy to match colors later for touch-ups or new projects. You’ll thank yourself months down the road!
Opening a paint can correctly may seem like a small detail, but it’s an essential step in achieving a smooth, efficient painting experience. From setup to sealing, these steps help prevent spills, preserve your paint, and deliver professional results every time.
By taking your time, using the right tools, and maintaining a clean workspace, you’ll ensure that every painting project starts—and ends—beautifully.