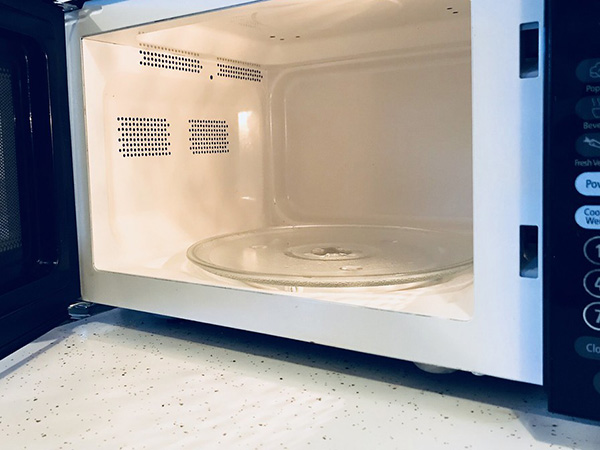
The Fastest and Easiest Way to Clean Your Microwave
- By the dedicated team of editors and writers at Newsletter Station.
The microwave oven has become one of the most frequently used appliances in modern kitchens. From reheating leftovers to preparing quick meals and snacks, it helps save valuable time throughout the day. However, with constant use comes inevitable splatters, spills, grease buildup, and lingering food odors that can quickly make your microwave look and smell unpleasant.
The good news is that cleaning your microwave does not have to be difficult or time-consuming. With a few simple household ingredients and the right technique, you can remove stubborn stains, sanitize surfaces, and freshen your microwave in just minutes. Regular cleaning not only keeps your appliance looking its best but can also help improve efficiency and extend its lifespan.
Materials You’ll Need
Before getting started, gather these simple cleaning supplies:
A microwave-safe bowl
Water
White vinegar or fresh lemon juice
Dish soap
A sponge, microfiber cloth, or soft cleaning rag
Baking soda (optional for deodorizing)
A microwave-safe cover (optional)
Step-by-Step Guide to Cleaning Your Microwave
Create a Natural Steam Cleaning Solution
Fill a microwave-safe bowl with one cup of water. Add either 2 tablespoons of white vinegar or the juice of 1 fresh lemon. Both ingredients contain natural acids that help break down grease, loosen dried food particles, and eliminate odors.
Lemon juice also leaves behind a clean, fresh scent that many homeowners prefer.
Heat the Solution
Place the bowl inside the microwave. If you have a microwave-safe cover, place it loosely over the bowl to minimize splattering.
Heat the solution on high power for approximately five to ten minutes, depending on how dirty the microwave is. The goal is to generate enough steam to coat the interior surfaces thoroughly. Once the liquid reaches a rolling boil and the windows appear steamy, stop the microwave.
Allow the Steam to Work
Leave the microwave door closed for an additional three to five minutes after heating. This allows the steam to soften hardened food residue and grease buildup, making cleanup significantly easier.
This simple steaming method has become increasingly popular because it reduces the need for harsh chemical cleaners while still delivering effective results.
Wipe Down the Interior
Carefully remove the hot bowl using oven mitts or a towel. Dip a sponge or microfiber cloth into warm water mixed with a small drop of dish soap.
Wipe down all interior surfaces, including the microwave's walls, floor, and ceiling. In most cases, the loosened debris should come away easily with minimal scrubbing.
Microfiber cloths are especially effective because they trap grease and food particles while helping prevent streaks.
Focus on Corners and Tough Spots
Food splatters often collect in the corners and on the ceiling of the microwave, especially near the vents. For stubborn stains, apply a small amount of baking soda to a damp sponge and gently scrub the area.
An old toothbrush can also help reach tight corners and crevices without damaging surfaces.
Clean the Turntable and Door
Remove the microwave turntable and support ring if applicable. Wash them separately in warm, soapy water just as you would regular dishes.
Next, wipe down the microwave door, handle, and exterior control panel. These high-touch areas tend to collect fingerprints, grease, and bacteria over time.
Keeping the exterior clean helps your entire kitchen appear fresher and more organized.
Rinse and Dry Thoroughly
After cleaning, wipe the interior again with a clean, damp cloth to remove any remaining soap or residue. Dry all surfaces with a soft towel or dry microfiber cloth.
Leaving moisture behind can contribute to odors and streaking, so drying thoroughly is an important final step.
Eliminate Lingering Odors
If unpleasant smells remain after cleaning, place an open bowl of baking soda or activated charcoal inside the microwave overnight. Both are highly effective at naturally absorbing lingering food odors.
You can also microwave a few lemon slices in water for a quick refresh between deeper cleanings.
Tips for Keeping Your Microwave Cleaner Longer
Maintaining a clean microwave becomes much easier when small messes are handled quickly. Consider these simple habits:
Cover food while reheating to reduce splatters
Wipe spills immediately before they harden
Clean the microwave weekly to prevent buildup
Avoid overheating foods that tend to explode or splatter
Leave the microwave door open briefly after use to reduce trapped moisture and odors
Small preventive steps can significantly reduce the time required for deep cleaning later.
Keeping your microwave clean does not require expensive cleaners or hours of scrubbing. With steam, natural ingredients, and regular maintenance, you can quickly remove grease, stains, and odors while keeping your appliance hygienic and efficient.
A clean microwave not only improves the appearance of your kitchen but also creates a healthier, more pleasant cooking environment. By incorporating these simple cleaning habits into your routine, you can keep your microwave looking and smelling fresh year-round.