How to Measure Your Garden Accurately: A Step-by-Step Guide for Every Gardener
- By the dedicated team of editors and writers at Newsletter Station.
Whether you’re cultivating a small balcony oasis or managing a sprawling backyard, accurate garden measurements are essential for success. Proper measurements help you plan layouts, calculate materials, and design functional, beautiful spaces. From new planting beds to patios, precise dimensions ensure your projects stay organized, efficient, and cost-effective.
Follow these ten easy steps to measure your garden like a pro and lay the groundwork for growth and creativity.
Step 1: Gather the Right Tools
Before you begin, assemble your measuring tools. A flexible tape measure works for most gardens, while a measuring wheel is ideal for larger spaces. Keep a notepad, pen, and graph paper handy for notes and sketches. For a digital option, consider garden design apps or smartphone mapping apps that automatically calculate distances.
Step 2: Establish a Baseline
Choose a fixed point, such as a fence, wall, or edge of your home, as your baseline. This reference line anchors your measurements, helping you maintain accuracy and consistency. Mark it clearly with stakes or string to ensure it remains straight.
Step 3: Measure Length and Width
If your garden is rectangular or square, measure the length and width directly. Run your tape measure or wheel along the baseline for one dimension, then measure at right angles for the other. Record all measurements clearly on your notepad or sketch.
Step 4: Handle Irregular Shapes
Most gardens aren’t perfect rectangles! For irregular or curved areas, divide them into smaller, simpler sections—rectangles, triangles, or circles. Use formulas like Area = 0.5 × Base × Height for triangles. Alternatively, use online mapping tools or apps like Google Earth to trace and calculate complex shapes.
Step 5: Measure Garden Beds
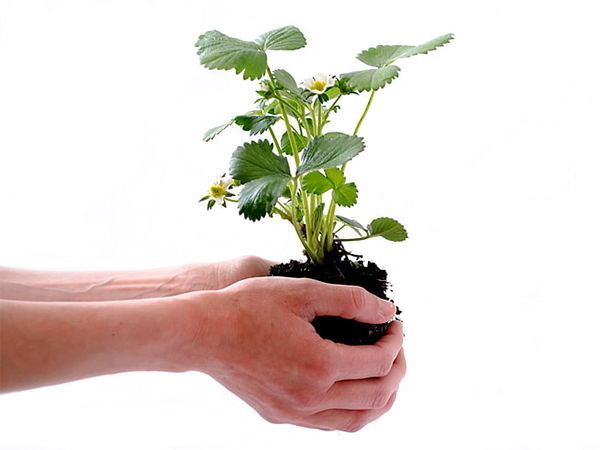
For raised or in-ground beds, measure length, width, and depth. These measurements determine how much soil, compost, or mulch you’ll need and help with efficient plant spacing. Don’t forget to note distances between beds for easy access and maintenance.
Step 6: Measure Paths and Walkways
Paths and walkways contribute to both beauty and functionality. Measure their length and width to calculate paving or gravel needs. Ensure paths are wide enough—typically 2 to 3 feet—for comfortable walking or wheelbarrow access.
Step 7: Include Structures and Features
Gazebos, sheds, pergolas, and fountains all impact your layout. Measure these features accurately to plan around them or when considering replacements or additions. Include height measurements for tall structures that may affect light or shading patterns.
Step 8: Record and Sketch Your Layout
Create a to-scale garden map on graph paper or digitally. Label every section—beds, paths, structures—and note dimensions. This layout helps you visualize changes, share ideas with landscapers, or plan seasonal updates efficiently.
Step 9: Use Technology to Simplify Planning
Modern tools can make measuring a breeze. Apps like iScape, Planter, or Home Outside let you design virtual layouts, experiment with plant placements, and instantly calculate square footage. Many also provide planting recommendations and sun exposure tracking.
Step 10: Revisit and Update Regularly
Gardens evolve—plants spread, new features emerge, and structures age. Reassess your garden measurements at least once a year or before major updates to ensure your plans remain accurate. Keeping an updated map helps streamline future projects and maintenance.
Accurate garden measurements are the foundation of a thriving outdoor space. They enable more thoughtful planning, better resource use, and more creative design decisions. By taking time to measure carefully and record details, you’ll set yourself up for gardening success—whether building a new bed, installing a patio, or reimagining your entire landscape.