
FEATURE ARTICLE
How to Remove Shellac Nail Polish at Home Safely: A Step-by-Step Guide
Apr 29, 2026
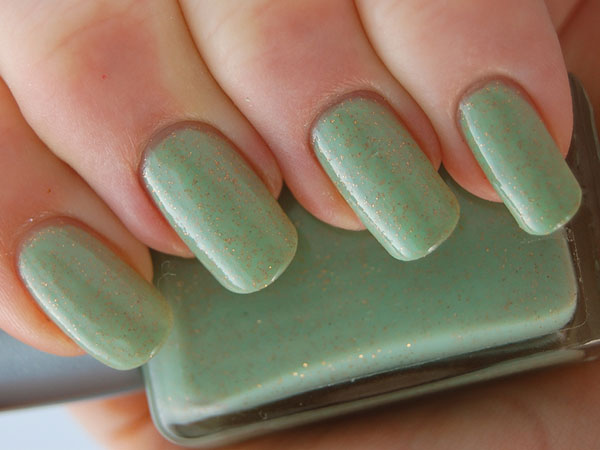
Shellac nail polish remains a go-to choice for long-lasting, chip-resistant manicures—but proper removal is key to keeping your natural nails healthy. While it’s tempting to peel or pick at chipped polish, doing so can weaken and damage the nail bed. The good news? With updated tools and a careful approach, you can safely remove shellac at home while preserving nail strength and shine.
This step-by-step guide reflects current best practices and professional tips to help you achieve salon-quality results from the comfort of home.
What You’ll Need
Before getting started, gather these essentials:
Step 1: Set Up a Well-Ventilated Space
Acetone can be strong, so choose a well-ventilated area. Protect your workspace with a towel or paper to catch spills and make cleanup easier.
Step 2: Gently File the Top Coat
Lightly buff the shiny top layer of your shellac polish. This breaks the seal, allowing the acetone to penetrate more effectively. Avoid over-filing, which can thin or damage your natural nails.
Step 3: Soak Cotton with Acetone
Saturate small pieces of cotton with acetone. For quicker removal, use pure acetone—but plan to rehydrate your nails afterward, as it can be drying.
Step 4: Wrap Nails Securely
Place the soaked cotton directly onto each nail, then wrap it in foil or secure it with nail clips. Ensure a tight seal to keep heat in and speed up the soaking process.
Step 5: Let It Sit
Allow your nails to soak for 10–15 minutes. Thicker or multiple layers may need a few extra minutes. You’ll know it’s ready when the polish appears lifted, wrinkled, or flaky.
Step 6: Remove Polish Gently
Press and slide off the wraps. Most of the shellac should come away easily. Use a wooden cuticle stick to gently nudge off any remaining polish—never force or scrape aggressively.
Step 7: Wash and Rehydrate
Wash your hands thoroughly to remove acetone residue. Follow up immediately with cuticle oil and a rich hand moisturizer to restore hydration and flexibility.
Step 8: Buff and Shape (Optional)
Lightly buff the nail surface if needed and shape your nails. Be conservative—over-buffing can weaken nails and lead to breakage.
Bonus Tips for Healthier Nails
Consistent aftercare is just as important as the removal process—so hydrate, strengthen, and give your nails the attention they deserve.
This step-by-step guide reflects current best practices and professional tips to help you achieve salon-quality results from the comfort of home.
What You’ll Need
Before getting started, gather these essentials:
- Acetone-based nail polish remover (pure acetone works fastest)
- Cotton balls or lint-free pads
- Aluminum foil or reusable nail clips
- Nail file (180 grit recommended)
- Wooden cuticle stick or pusher
- Cuticle oil or nourishing hand cream
- Nail buffer (optional)
Step 1: Set Up a Well-Ventilated Space
Acetone can be strong, so choose a well-ventilated area. Protect your workspace with a towel or paper to catch spills and make cleanup easier.
Step 2: Gently File the Top Coat
Lightly buff the shiny top layer of your shellac polish. This breaks the seal, allowing the acetone to penetrate more effectively. Avoid over-filing, which can thin or damage your natural nails.
Step 3: Soak Cotton with Acetone
Saturate small pieces of cotton with acetone. For quicker removal, use pure acetone—but plan to rehydrate your nails afterward, as it can be drying.
Step 4: Wrap Nails Securely
Place the soaked cotton directly onto each nail, then wrap it in foil or secure it with nail clips. Ensure a tight seal to keep heat in and speed up the soaking process.
Step 5: Let It Sit
Allow your nails to soak for 10–15 minutes. Thicker or multiple layers may need a few extra minutes. You’ll know it’s ready when the polish appears lifted, wrinkled, or flaky.
Step 6: Remove Polish Gently
Press and slide off the wraps. Most of the shellac should come away easily. Use a wooden cuticle stick to gently nudge off any remaining polish—never force or scrape aggressively.
Step 7: Wash and Rehydrate
Wash your hands thoroughly to remove acetone residue. Follow up immediately with cuticle oil and a rich hand moisturizer to restore hydration and flexibility.
Step 8: Buff and Shape (Optional)
Lightly buff the nail surface if needed and shape your nails. Be conservative—over-buffing can weaken nails and lead to breakage.
Bonus Tips for Healthier Nails
- Take short breaks between shellac applications to let nails recover
- Use strengthening treatments with keratin or biotin
- Apply SPF or UV-protective gloves if using gel lamps regularly
- Avoid peeling polish, which can strip layers from your nails
Consistent aftercare is just as important as the removal process—so hydrate, strengthen, and give your nails the attention they deserve.