
FEATURE ARTICLE
How to Fix Tears in Car Seats: Easy DIY Tips to Restore Your Interior
Apr 29, 2026
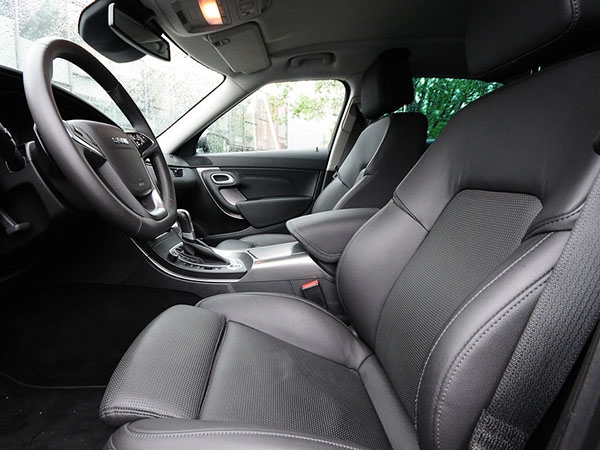
Your car’s interior does more than provide comfort—it reflects your personal style and helps maintain your vehicle’s value. When you notice a tear in your car seat, it can be both frustrating and unsightly.
The good news? Many minor to moderate seat tears can be repaired at home with the right tools and a little patience. This updated guide walks you through practical, cost-effective steps to restore your car’s interior while helping you avoid costly professional repairs.
While DIY methods are effective for many situations, larger tears, damaged seams, or high-end upholstery may require a professional touch. An auto upholstery specialist can ensure a seamless repair, especially for luxury or heavily worn interiors.
Fixing tears in your car seats doesn’t have to be expensive or complicated. With the right tools, updated repair techniques, and a little care, you can restore your vehicle’s interior and extend its lifespan.
A small investment of time today can save you money down the road—and keep your car looking its best for years to come.
The good news? Many minor to moderate seat tears can be repaired at home with the right tools and a little patience. This updated guide walks you through practical, cost-effective steps to restore your car’s interior while helping you avoid costly professional repairs.
-
Assess the Damage First
Start by carefully examining the tear. Is it a small surface crack, a split seam, or a deeper rip?- Minor cracks or small tears: Usually easy DIY fixes
- Medium tears: Repairable with kits and reinforcement
- Large or seam tears: May require professional upholstery repair
-
Gather the Right Materials
Using quality materials makes a big difference in both durability and appearance. Most repairs require:- Leather or vinyl repair kit (color-matched if possible)
- Scissors or a precision utility knife
- Microfiber cloth and interior-safe cleaner
- Adhesive (often included in kits)
- Heat source (hairdryer or heat tool)
-
Clean the Area Thoroughly
Before making any repairs, clean the damaged area to remove dirt, oil, and other residues.
A clean surface allows adhesives to bond properly and helps the repair blend more naturally. Use a cleaner designed specifically for leather or vinyl to avoid further damage. -
Trim and Prepare the Tear
Carefully trim away any loose or frayed edges around the tear. This step:- Prevents further splitting
- Creates a smoother surface
- Improves the final appearance
-
Apply a Backing Patch (If Needed)
For deeper tears, place a backing fabric underneath the damaged area before applying the top repair. This provides structural support and prevents the tear from reopening over time.
Ensure the backing material lies flat and fully covers the damaged section. -
Apply the Repair Compound or Patch
Follow your repair kit instructions to apply the adhesive, patch material, or filler compound.- Spread evenly across the tear
- Smooth out air bubbles or uneven spots
- Match the texture using grain paper if included
-
Use Heat to Set the Repair
Gently apply heat using a hairdryer or heat tool to activate the adhesive and cure the material.
Be careful not to overheat, as excessive heat can damage the seat material. Controlled, even heating helps create a stronger bond and smoother finish. -
Allow Proper Curing Time
Patience is key. Let the repair fully cure according to the product instructions—this can range from a few hours to a full day.
Avoid sitting on or stressing the area too soon, as this can weaken the repair. -
Blend and Condition the Surface
Once cured, lightly clean and condition the area to restore softness and improve appearance.
Modern conditioners can also add UV protection, helping prevent fading and future cracking—especially important if your car is frequently exposed to sunlight. -
Maintain Your Seats to Prevent Future Damage
Preventive care goes a long way in extending the life of your car’s interior:- Clean seats regularly to remove dirt and oils
- Apply conditioner every few months
- Use sunshades or park in shaded areas
- Avoid sharp objects in pockets that can snag material
While DIY methods are effective for many situations, larger tears, damaged seams, or high-end upholstery may require a professional touch. An auto upholstery specialist can ensure a seamless repair, especially for luxury or heavily worn interiors.
Fixing tears in your car seats doesn’t have to be expensive or complicated. With the right tools, updated repair techniques, and a little care, you can restore your vehicle’s interior and extend its lifespan.
A small investment of time today can save you money down the road—and keep your car looking its best for years to come.