
FEATURE ARTICLE
How to Fix Paint Drips on Walls: A Simple Guide to a Smooth, Professional Finish
Apr 22, 2026
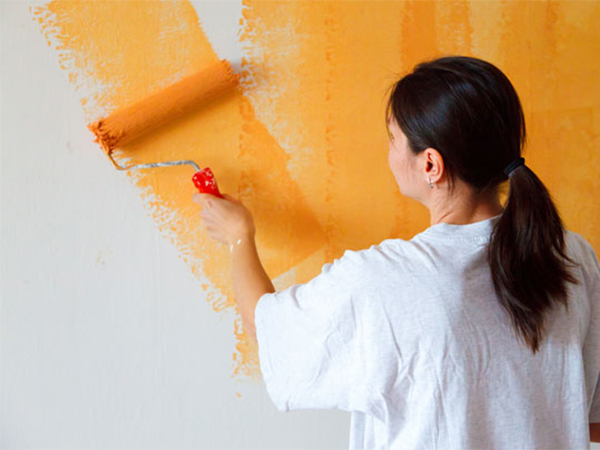
Painting your home is one of the most cost-effective ways to refresh a space. But even careful DIY painters can run into a common issue—paint drips. These small imperfections can affect the overall finish of your walls if not corrected properly.
The good news is that fixing paint drips is straightforward with the right tools, timing, and technique. This updated guide will walk you through a practical, step-by-step process to restore a smooth, professional-looking wall finish.
Common Causes of Paint Drips
Before repairing drips, it’s helpful to understand why they happen. The most frequent causes include:
Step-by-Step: How to Fix Paint Drips on Walls
Taking time to prep properly and apply paint correctly will not only improve appearance but also reduce future touch-ups.
The good news is that fixing paint drips is straightforward with the right tools, timing, and technique. This updated guide will walk you through a practical, step-by-step process to restore a smooth, professional-looking wall finish.
Common Causes of Paint Drips
Before repairing drips, it’s helpful to understand why they happen. The most frequent causes include:
- Applying paint too thickly
- Overloading brushes or rollers
- Using low-quality painting tools
- Painting in high humidity or poor lighting conditions
- Not maintaining a consistent stroke technique
Step-by-Step: How to Fix Paint Drips on Walls
-
Let the Paint Fully Dry
Never attempt to fix wet paint drips. Allow the paint to dry completely according to the manufacturer’s instructions. Rushing this step can spread the drip and worsen the finish. -
Lightly Sand the Imperfection
Use fine-grit sandpaper or a sanding block to smooth the dried drip gently.- Work slowly and evenly
- Avoid sanding too hard to prevent wall damage
- Focus only on the raised area
-
Clean the Surface Thoroughly
Wipe away sanding dust using a soft cloth or damp sponge. A clean surface ensures proper adhesion for primer and touch-up paint. -
Apply Primer (If Needed)
Applying a small amount of primer helps the touch-up paint blend more evenly, especially if:- The wall is a darker color
- The original paint has been on the wall for a long time
- You sanded down to bare drywall or plaster
-
Apply Touch-Up Paint Carefully
Using a small brush or detail brush, apply thin layers of matching paint:- Start at the center of the repaired area
- Feather outward to blend with the surrounding paint
- Apply multiple thin coats instead of one thick layer
-
Blend the Edges for a Seamless Look
Once the paint is slightly dry, gently feather the edges using a clean, dry brush or soft sponge. This helps the repaired area blend naturally into the wall. -
Evaluate and Repeat if Necessary
After the paint fully dries, inspect the area under natural light. If the repair is still visible, repeat the sanding and touch-up process for a smoother result.
- Use high-quality brushes and rollers
- Avoid overloading tools with paint
- Apply multiple thin coats instead of one heavy coat
- Maintain consistent painting strokes
- Work in well-lit, low-humidity conditions
Taking time to prep properly and apply paint correctly will not only improve appearance but also reduce future touch-ups.