
FEATURE ARTICLE
How to Fix Cracked Floor Tiles: A Simple DIY Guide to Restore Your Flooring
Apr 22, 2026
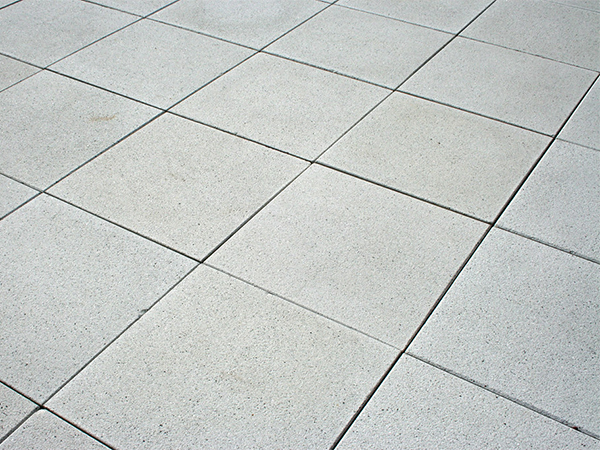
Cracked floor tiles can quickly turn from a minor issue into a safety hazard and an eyesore. Whether caused by heavy impact, normal wear and tear, or natural settling of your home’s foundation, promptly repairing damaged tiles helps maintain the appearance and integrity of your flooring.
The good news? In many cases, you don’t need to call a professional. With the right tools and a bit of patience, replacing a cracked tile is a manageable DIY project that can save time and money.
Materials You’ll Need
Before starting, gather everything you need to ensure a smooth repair process:
Step-by-Step Guide to Repairing Cracked Floor Tiles
Repairing a cracked floor tile is a practical DIY project that can restore both safety and appearance without the cost of professional repair. With careful removal, proper installation, and attention to detail, your flooring can look as good as new.
The good news? In many cases, you don’t need to call a professional. With the right tools and a bit of patience, replacing a cracked tile is a manageable DIY project that can save time and money.
Materials You’ll Need
Before starting, gather everything you need to ensure a smooth repair process:
- Replacement tile (matching size, color, and texture)
- Hammer and chisel or putty knife
- Safety goggles and gloves
- Tile adhesive or mastic
- Grout (matching existing color)
- Grout float
- Sponge and clean water
- Tile spacers
- Trowel or flat putty knife
Step-by-Step Guide to Repairing Cracked Floor Tiles
-
Prioritize SafetSafety
Always wear gloves and safety goggles before beginning. Tile shards can be sharp, and debris may fly during removal. -
Carefully Remove the Damaged Tile
Use a chisel or a putty knife to lift the cracked tile gently. Start from the center and work outward to avoid damaging surrounding tiles. -
Break the Tile (If Necessary)
If the tile is difficult to remove, carefully tap it with a hammer to break it into smaller pieces. Remove fragments slowly and cautiously. -
Clean and Prep the Surface
Scrape away old adhesive and debris until the surface is smooth and clean. A well-prepared base ensures proper bonding for the new tile. -
Apply Tile Adhesive
Spread a thin, even layer of adhesive on the back of the replacement tile or directly onto the floor using a trowel. -
Install the New Tile
Press the replacement tile firmly into place. Use tile spacers to ensure consistent gaps and alignment with surrounding tiles. -
Allow Proper Curing Time
Let the adhesive set according to the manufacturer's instructions—typically about 24 hours. Avoid walking in the area during this time. -
Apply GroutGrout
Once the adhesive has cured, remove spacers and apply grout with a grout float. Press it into the joints evenly for a seamless finish. -
Clean Excess Grout
After 20–30 minutes, gently wipe the tile surface with a damp sponge. Rinse frequently to avoid haze buildup. -
Final Curing and Polishing
Allow the grout to fully cure for 24–48 hours. Once dry, buff the surface with a clean cloth to remove any remaining haze and restore shine.
- Place protective pads under heavy furniture
- Avoid dropping heavy objects on tiled floors
- Regularly inspect grout lines for early signs of wear
- Address small cracks or loose tiles promptly
Repairing a cracked floor tile is a practical DIY project that can restore both safety and appearance without the cost of professional repair. With careful removal, proper installation, and attention to detail, your flooring can look as good as new.