
Why Painter’s Tape Matters
Refreshing your home with a new paint job can transform a space instantly, whether you’re tackling a full-room update or just sprucing up with spot repairs. One tool that can make your DIY painting look truly professional is painter’s tape. This simple accessory helps you achieve crisp, clean lines and keeps paint where it belongs, saving you time and effort.
What Painter’s Tape Does and Where to Use It
Painter’s tape is a type of adhesive tape designed specifically for painting projects. Unlike regular masking tape, it sticks well but removes easily without damaging surfaces or leaving behind sticky residue. It’s available in widths suited for different areas and works on surfaces ranging from walls and trim to glass and delicate wallpaper.
This tape is ideal for protecting trim like baseboards, crown molding, and window frames. It also comes in handy for shielding fixtures such as light switches or door handles, so you avoid having to remove hardware before painting. When painting patterns, stripes, or different colored walls side by side, painter’s tape lets you create perfect, sharp edges without worrying about bleed-through.
For those feeling creative, painter’s tape can even act as a stencil tool. You can cut it into shapes and designs, apply it to your surface, and paint over to make custom patterns that bring a unique flair to your room.
Applying Painter’s Tape Like a Pro
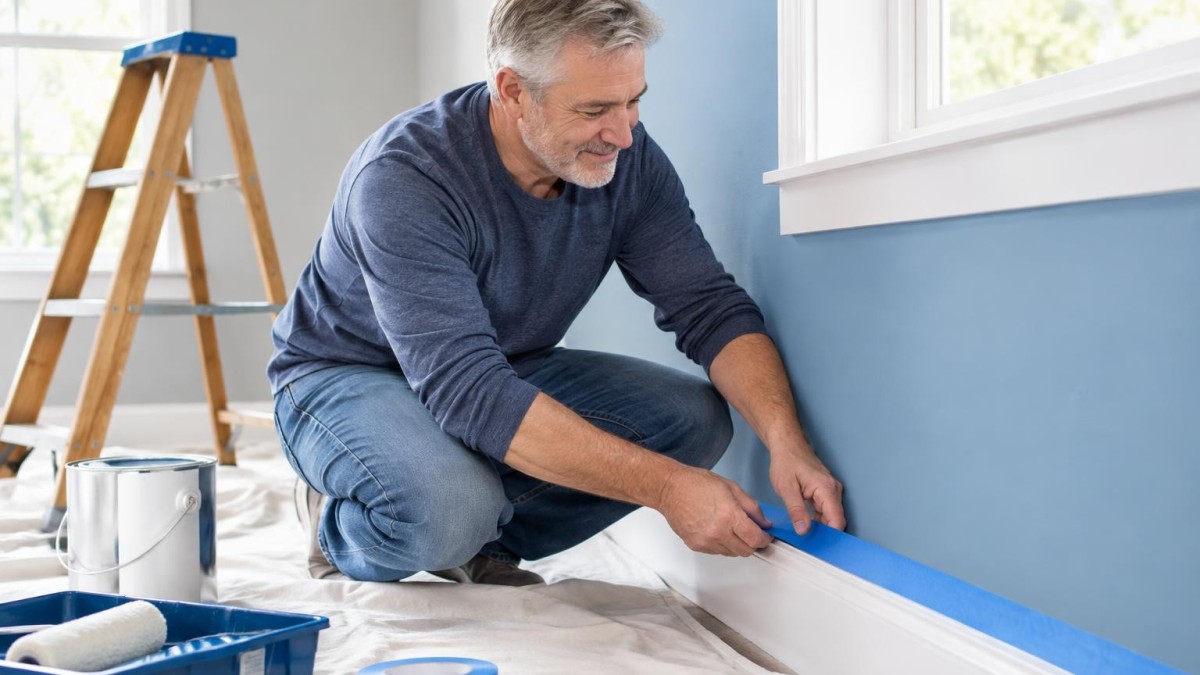
To get the best results, start with a clean, dry surface free of dust or loose paint. Carefully apply tape along the edges you want to protect, pressing it down firmly to prevent bubbles or gaps. For extra protection against bleeding, run a plastic putty knife or flat tool along the tape edge to seal it smooth.
When painting near the tape, avoid soaking your brush or roller to limit paint seeping underneath. Allow paint coats to dry fully before applying more layers. Most importantly, remove the tape while the paint is still slightly tacky by pulling it back at a 45-degree angle. This helps prevent peeling paint and ensures sharp, clean lines. If you wait until the paint is totally dry, scoring along the tape edge with a utility knife before removal can protect your finish.
Tips for Success
Choose a tape suited to your surface—some tapes are designed specifically for delicate or textured walls. Store your painter’s tape in a cool, dry place to keep the adhesive fresh. And when removing tape, take your time with a slow, steady pull to avoid jagged edges or tearing.
With these tips, painter’s tape becomes an essential part of your painting toolkit, making your projects smoother and your results cleaner. Whether you’re a first-time painter or seasoned DIYer, it’s a small investment that makes a big difference in achieving a flawless finish.
Newsletter Station provides professionally written, ready-to-send newsletters customized for your market and brand.
EXPLORE NEWSLETTER OPTIONS