
FEATURE ARTICLE
DIY Headlight Restoration: Step-by-Step Guide for Clear, Bright Headlights
Dec 3, 2025
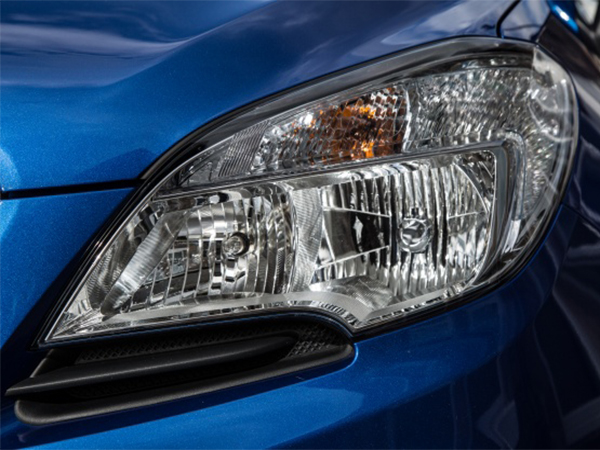
Clear, bright headlights not only enhance your vehicle’s appearance but are essential for safe nighttime driving. Over time, exposure to UV rays, dirt, and environmental elements can cause headlights to become cloudy, hazy, or oxidized, reducing visibility and overall vehicle appeal.
The good news is that restoring headlights is a do-it-yourself project that can dramatically improve both safety and aesthetics.
Tools and Materials You’ll Need
Step 1: Clean the Headlights
Thoroughly wash the headlights with soap and water to remove dirt and debris. Dry completely before proceeding.
Step 2: Mask Surrounding Areas
Use masking tape to cover paint and adjacent surfaces to prevent accidental scratches during sanding or polishing.
Step 3: Wet Sanding
Wet sanding removes the oxidized outer layer of plastic. Start with a lower grit sandpaper (around 800) and gradually move to finer grits (up to 2000). Keep the surface wet to prevent overheating and ensure smooth sanding.
Step 4: Polishing
Apply the polishing compound to a clean microfiber cloth, then rub it in circular motions over the sanded headlight. This step restores clarity and removes any remaining haze.
Step 5: Apply UV Sealant
Wipe clean and apply the UV protectant sealant according to the kit’s instructions. This prevents future oxidation and prolongs the life of the restoration.
Step 6: Final Touches
Once the sealant dries, remove masking tape and buff headlights with a dry microfiber cloth for a streak-free, polished finish.
Tips for Long-Lasting Results
By following these steps and using a high-quality restoration kit, you can enjoy bright, clear headlights for years. Regular maintenance and UV protection ensure your headlights remain vibrant, safe, and visually appealing during nighttime drives.
The good news is that restoring headlights is a do-it-yourself project that can dramatically improve both safety and aesthetics.
Tools and Materials You’ll Need
- Headlight Restoration Kit: Includes sandpaper of varying grits, polishing compound, and protective sealant.
- Microfiber Cloths: For cleaning and polishing.
- Water and Soap: To remove dirt and grime.
- Masking Tape: Protects surrounding paint from scratches.
- Spray Bottle with Water: For wet sanding.
- UV Protectant Sealant: Provides long-term protection against future oxidation.
Step 1: Clean the Headlights
Thoroughly wash the headlights with soap and water to remove dirt and debris. Dry completely before proceeding.
Step 2: Mask Surrounding Areas
Use masking tape to cover paint and adjacent surfaces to prevent accidental scratches during sanding or polishing.
Step 3: Wet Sanding
Wet sanding removes the oxidized outer layer of plastic. Start with a lower grit sandpaper (around 800) and gradually move to finer grits (up to 2000). Keep the surface wet to prevent overheating and ensure smooth sanding.
Step 4: Polishing
Apply the polishing compound to a clean microfiber cloth, then rub it in circular motions over the sanded headlight. This step restores clarity and removes any remaining haze.
Step 5: Apply UV Sealant
Wipe clean and apply the UV protectant sealant according to the kit’s instructions. This prevents future oxidation and prolongs the life of the restoration.
Step 6: Final Touches
Once the sealant dries, remove masking tape and buff headlights with a dry microfiber cloth for a streak-free, polished finish.
Tips for Long-Lasting Results
- Regular Maintenance: Clean headlights periodically to prevent dirt buildup.
- Reapply UV Sealant: Protects against sun damage and keeps headlights clear longer.
- Use High-Quality Kits: Quality sandpaper, polish, and sealant produce the best results.
By following these steps and using a high-quality restoration kit, you can enjoy bright, clear headlights for years. Regular maintenance and UV protection ensure your headlights remain vibrant, safe, and visually appealing during nighttime drives.