
Gathering Your Materials
Repairing drywall damage yourself can save both time and money, and with some basic supplies, it’s a task well within reach. You'll need a drywall patch kit or compound, drywall joint tape, medium and fine-grit sandpaper, a utility knife, a putty knife, paint primer, and matching paint. Having these ready will make the process smoother from start to finish.
Step-by-Step Patching Process
Begin by preparing the damaged section. Clear away any loose debris and trim the edges around the hole or dent with a utility knife to create clean lines. For holes larger than small nail marks or dents, reinforce the area with drywall joint tape. Cut a piece of tape just big enough to cover the damaged spot and press it firmly into place.
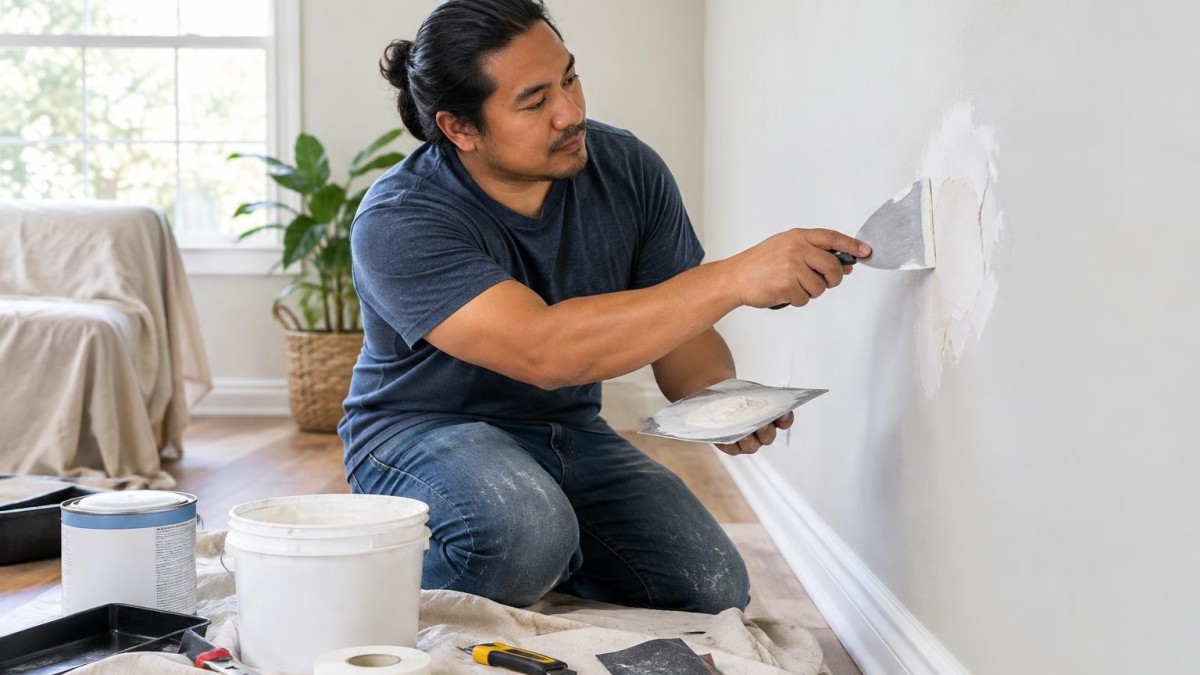
Next, apply a thin, even layer of joint compound over the tape or directly on smaller damaged spots without tape. Use a putty knife to feather the edges so the patch blends with the existing wall. Allow this to dry according to the product guidelines.
Once dry, sand the patched area gently with medium-grit sandpaper to remove bumps, then finish smoothing with fine-grit sandpaper to create a seamless surface. Larger or deeper patches may need additional layers of compound; just be sure to sand between coats and keep the surface even.
After you're happy with the smoothness, prime the patch to ensure proper paint adhesion. When the primer dries, paint over the area with color matched to your wall. Let the paint fully dry before inspecting your work and enjoying your restored space.
Tips for Success
Take your time throughout the process—patience is key to a polished result. Don’t rush drying or sanding steps, and don't be discouraged if it takes a couple of coats to get it just right. With these straightforward tools and steps, you can handle common drywall repairs confidently, bringing your walls back to good-as-new condition.
Newsletter Station provides professionally written, ready-to-send newsletters customized for your market and brand.
EXPLORE NEWSLETTER OPTIONS