How to Fix Paint Drips on Your Wall
Why Paint Drips Happen and How to Start Fixing Them
Painting a room yourself can be rewarding, but even skilled painters sometimes find small drips or raised spots once the paint dries. These imperfections stand out, especially when light hits from the side, and simply brushing over the area rarely removes them.
Gather Your Tools and Prepare the Space
Before fixing a drip, make sure you have fine-grit sandpaper or a sanding sponge, a putty knife or paint scraper, matching wall paint, a small brush or roller, primer if necessary, a clean cloth or vacuum, drop cloth, and painter’s tape if needed. Protect the surrounding floor and trim by laying down the drop cloth and taping nearby surfaces only if it helps avoid mess and extra work.
Step 1: Wait for the Paint to Fully Dry
Patience is key here. Allow the paint to dry completely before starting repairs. Wet paint drips spread easily and create bigger, uneven areas. Dry time varies by paint type and room conditions, so check the specific product’s instructions and make sure the surface feels firm but not gummy when touched.
Step 2: Remove Raised Paint Gently
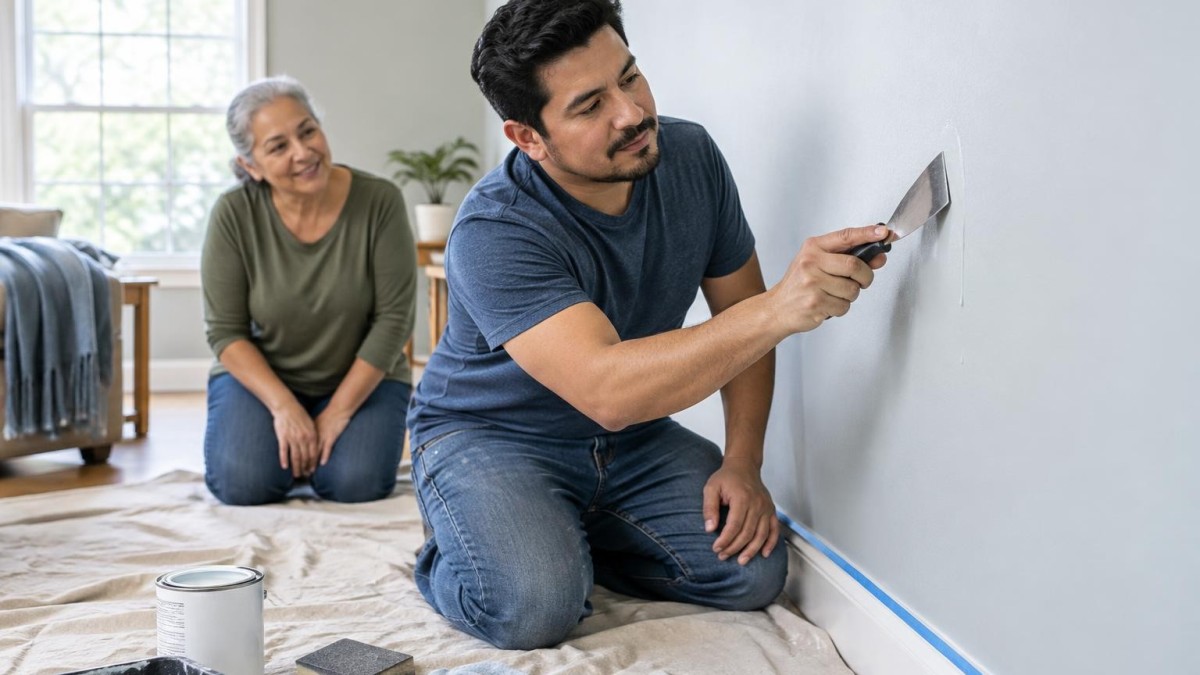
Once dry, carefully shave down the drip using a putty knife or paint scraper held almost flat against the wall. Use light pressure and make several gentle passes rather than trying to remove it all at once, to avoid damaging the drywall or plaster underneath. Very small drips might just need sanding.
Step 3: Sand Smooth
Use fine-grit sandpaper or a sanding sponge to smooth the area, feathering the edges so it blends seamlessly with the surrounding wall. The goal is a flat surface that won’t show through when repainted. Avoid removing too much paint—just enough to level the drip spot.
Step 4: Clean and Decide About Primer
Remove dust with a slightly damp cloth or vacuum before repainting. If you’ve sanded down to bare drywall or exposed patches, applying primer will help the paint adhere evenly and prevent visible texture differences. For minor repairs where the paint layer underneath is intact, primer might not be necessary.
Step 5: Repaint Carefully
Use the original paint whenever possible, as colors can fade or shift over time. For small spots, a brush works fine; for larger areas, matching the original roller type helps maintain texture consistency. Apply paint lightly and in thin coats, allowing each to dry fully before adding another if needed.
Handling Larger Drips
If a drip is thick or has damaged the wall surface below, you might need to scrape away excessive paint, apply patching compound to fill any depressions, then sand smooth and prime before repainting. Applying several heavy coats of paint without proper surface prep often makes the issue more noticeable.
How to Avoid Drips Altogether
Prevention is easier than repair. Avoid overloading your brush or roller with paint, use light and consistent pressure, check your work frequently from different angles, work in manageable sections to keep a wet edge, and avoid reworking paint as it starts to dry. Quality tools tailored to your paint finish also help keep your work drip-free.
Fixing paint drips doesn’t require repainting the whole wall or room. With patience and careful attention to each repair step—drying, scraping, sanding, cleaning, priming, and repainting—you can make drips virtually disappear and keep your walls looking smooth and professional.