Troubleshooting Your Car’s Check Engine Light: What It Means and How to Respond
- By the dedicated team of editors and writers at Newsletter Station.
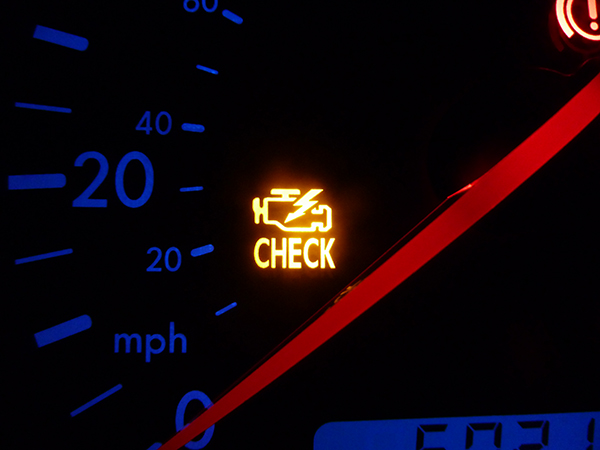
YWhen your dashboard lights up, the check engine light is often the one that causes the most concern. While it can signal a wide range of issues, it doesn’t always mean a costly repair is looming. The light is part of your vehicle’s onboard diagnostic system (OBD-II), which monitors performance and emissions.
When it detects something outside normal parameters, it alerts you to investigate further. Knowing how to respond calmly and systematically can help you avoid unnecessary expenses and keep your vehicle running smoothly.
Step 1: Stay Calm and Observe
Seeing the check engine light can be unsettling, but avoid jumping to worst-case scenarios. Many triggers are minor, such as a loose gas cap or a temporary sensor glitch. If the light is steady—not flashing—you usually have time to diagnose the problem safely.
Step 2: Look for Additional Symptoms
Pay attention to how your vehicle behaves. Changes in sound, performance, fuel efficiency, or odors can provide important clues. If the light is flashing or the car is driving poorly, pull over safely and avoid continuing to drive, as this may indicate a serious engine or emissions issue.
Step 3: Use an OBD-II Scanner
An OBD-II scanner is an affordable tool that connects to your vehicle’s diagnostic port, usually under the dashboard. The scanner retrieves trouble codes stored by the computer, giving you a starting point for troubleshooting. Many parts stores still offer free code scans if you don’t own a device.
Step 4: Interpret the Error Codes
The displayed codes indicate specific systems or components that may be malfunctioning. While they aren’t a definitive diagnosis, they help narrow down the problem, saving time and guessing. Write down all codes, even if the light turns off on its own, to better understand recurring issues.
Step 5: Research the Issue
Once you have the codes, research what they mean for your vehicle’s make and model. Online resources, automaker websites, and professional forums provide valuable, up-to-date information. Some vehicles also have common failure patterns, making it easier to identify likely culprits.
Step 6: Inspect Common Trouble Areas
Some components frequently trigger check engine lights, such as the oxygen sensor, mass airflow sensor, spark plugs, ignition coils, or catalytic converter. Look for worn, corroded, or disconnected parts. Addressing minor wear early can help prevent more expensive repairs later.
Step 7: Consider Basic Maintenance
The check engine light may simply be signaling that you’re overdue for routine maintenance. Check your service schedule for oil changes, air filter replacement, and spark plug intervals. Regular maintenance improves performance, reduces emissions, and can prevent warning lights altogether.
Step 8: Reset the Light or Seek Professional Help
After resolving the issue, you can clear the code manually, or it may reset automatically after several driving cycles. If the light returns or you can’t identify the cause, consult a trusted mechanic. Professional diagnostics can quickly pinpoint complex electrical or emissions problems.
While the check engine light can spark anxiety, it’s ultimately a helpful tool designed to protect your vehicle. By responding with patience, gathering information, and performing timely maintenance, you can prevent minor issues from becoming costly repairs.
Whether you handle troubleshooting yourself or work with a qualified mechanic, staying proactive helps extend your vehicle’s life and keeps you driving with confidence.